So this past weekend I finished up taking the first two Wilton cake decorating classes and I really feel that I have come a long way in just four short weeks. I started out with zero experience but through trial and error and lots of practice, I can now say that I am quite confident in my buttercream and royal icing decorating abilities.
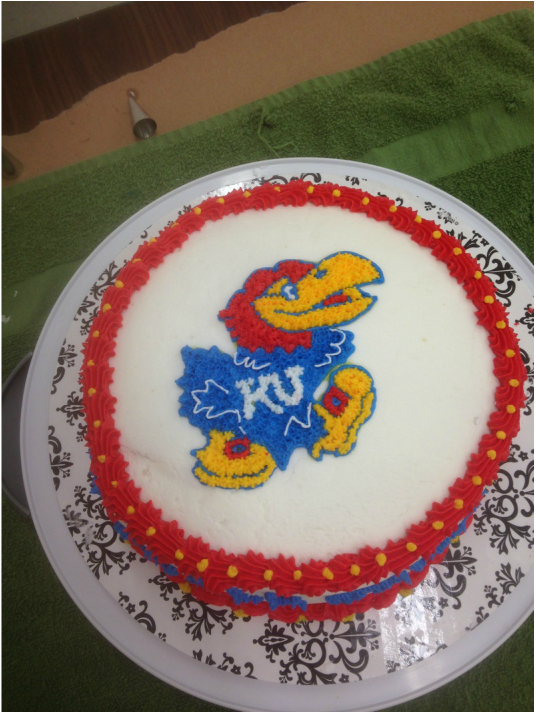
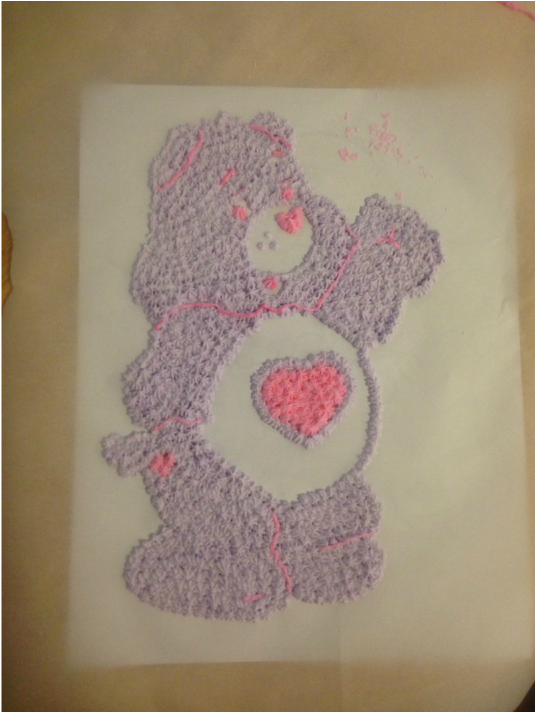
My inspiration for my course 1 final cake was my husband. Actually, he requested that I make a KU cake for him. He loved it.For this cake I used several different techniques. To create the jayhawk symbol, I used the gel transfer method which just means I traced the image onto a piece of parchment paper with decorating gel and flipped that over on top of my cake which left a nice outline of the jayhawk. Then, I piped over the gel outline with buttercream icing. After the outline was drawn, I used tiny stars to fill in the bird with the appropriate colors. For the boarder, I just did a simple shell boarder and then piped little yellow dots to give something extra and make the colors pop. Lastly, I wrote the KU chant on the side of the cake by first scratching the words into the icing with a toothpick and then going over it with the same star tip that I used to fill in the jayhawk. Voila! A cake that I was very happy to present to my wonderful husband! :)
My inspiration for my course 1 final cake was my husband. Actually, he requested that I make a KU cake for him. He loved it.For this cake I used several different techniques. To create the jayhawk symbol, I used the gel transfer method which just means I traced the image onto a piece of parchment paper with decorating gel and flipped that over on top of my cake which left a nice outline of the jayhawk. Then, I piped over the gel outline with buttercream icing. After the outline was drawn, I used tiny stars to fill in the bird with the appropriate colors. For the boarder, I just did a simple shell boarder and then piped little yellow dots to give something extra and make the colors pop. Lastly, I wrote the KU chant on the side of the cake by first scratching the words into the icing with a toothpick and then going over it with the same star tip that I used to fill in the jayhawk. Voila! A cake that I was very happy to present to my wonderful husband! :)
Here is a partial view of the writing on the sides.

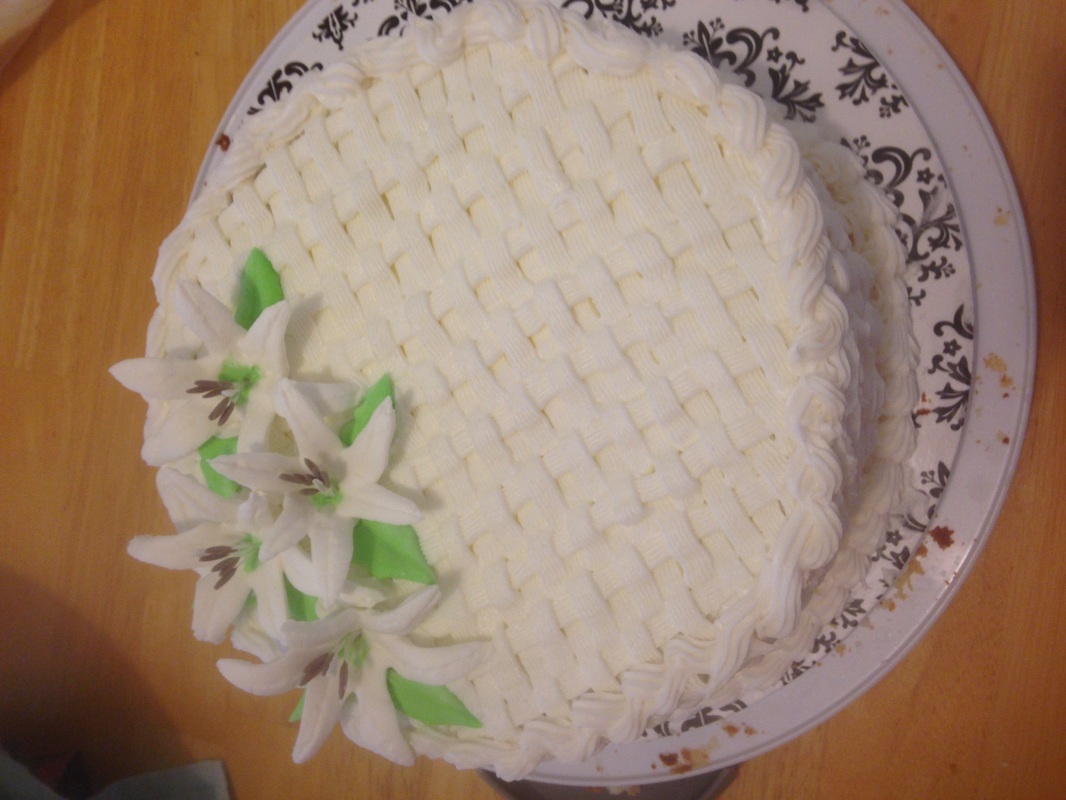
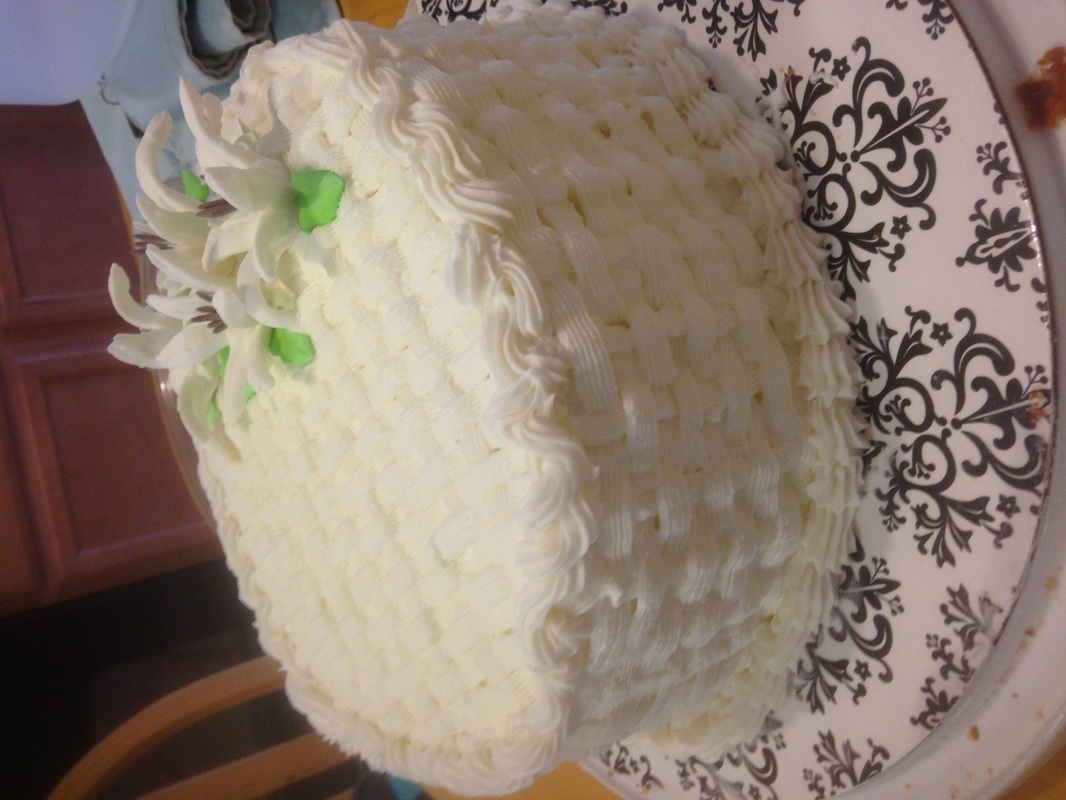
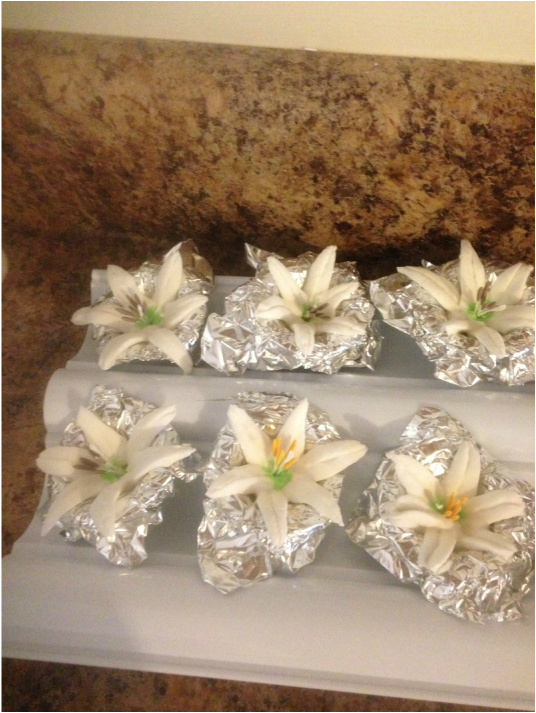
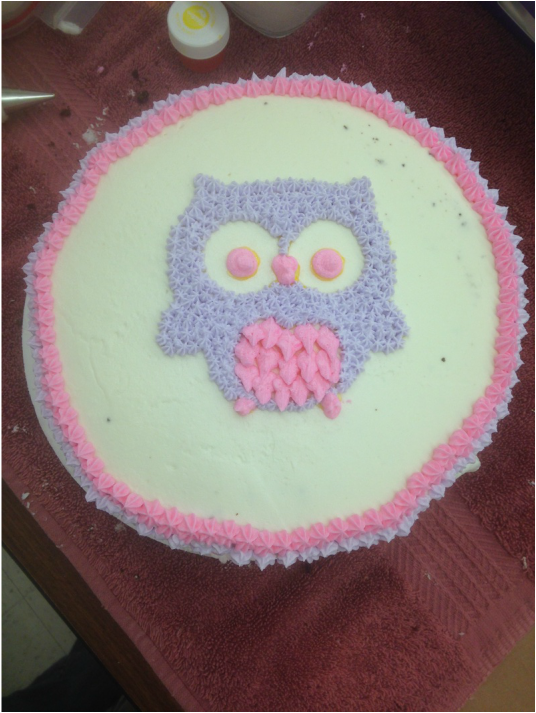
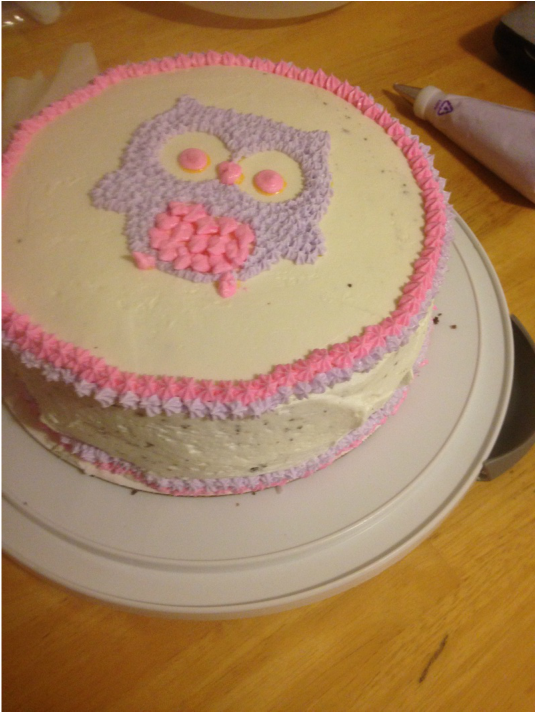
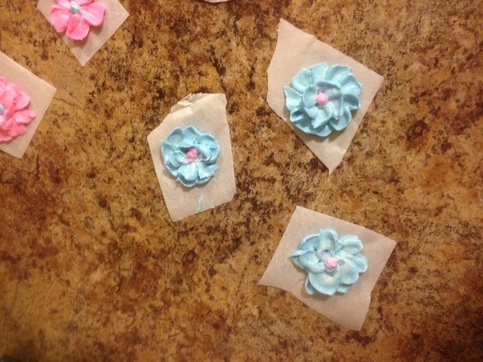
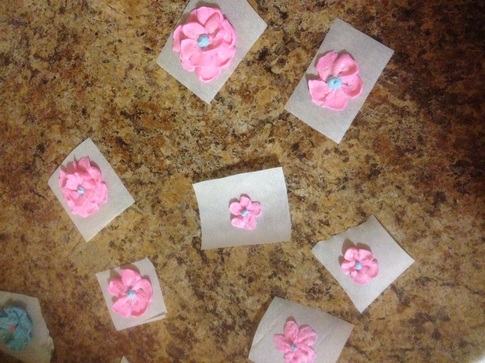
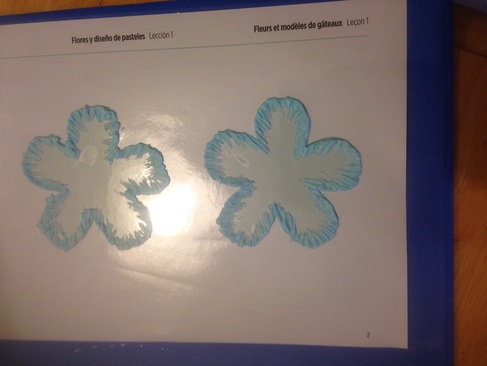
Now on to my course 2 final cake. For this cake, I used the basket weave technique that we learned in class that day and then attempted to do a rope border around the top. I apparently need more practice with that one because it did not turn out very well. I switched back to the shell technique for the bottom boarder. Then, I simply placed my royal icing lilies and leaves on the top and my cake was complete! Here are a couple of pictures of my course 2 final cake.
I loved taking these two classes. Now that they are over, I am kind of sad. I definitely still plan to bake lots of cake so that I can continue to practice my skills and learn new ones! One of the questions that I have been asked a lot later is whether or not I plan to take the next two levels of cake decorating classes. At this point in time, I am not sure. The classes do get a bit pricey when you factor in all of the costs and since I do not ever plan to sell my cakes, I have not decided if it will be worth it. I think I need to research or ask some of my other friends that bake if they really use the more advanced skills very often. I feel like I have learned as much as what I am capable of doing in my own kitchen on a somewhat regular basis. Who knows though. Maybe I'll get bored and decide to enroll in another class. :)
 RSS Feed